Windows Keyboard Layout Installation Procedure
NOTE: If things aren’t working after the installation, try rebooting your computer. This seems to be an issue especially with Windows 8.
- Download the keyboard you want to use by finding “Windows Keyboard” in the download table. By clicking on this link, the Save File process will begin. Remember where you save it!
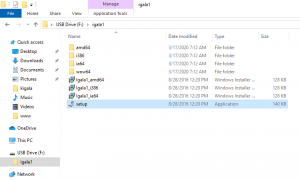
- Unzip the file to a destination of your choice. You should now be looking at a folder containing the keyboard layout.
- In the layout folder there will be a file called Setup. Double click Setup and the keyboard will automatically be installed and activated on your computer. You might have to wait a few seconds for the keyboard layout to be installed
- You will likely get a warning asking you to “Allow this app from an unknown publisher to make changes on your PC”. Click “Yes” if you trust my software. This message may not immediately appear on your screen, instead it might be a blinking shield icon in your system tray (near your screen clock). A message will appear informing you that the process is complete.
- You’ve now installed the key-layout. In the ‘System Tray’ at the bottom of your Windows screen, you will see an icon of a keyboard). On some computers, this icon may be at the top of your screen or at the top of your active window instead. At this point restart Windows.
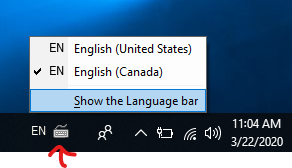
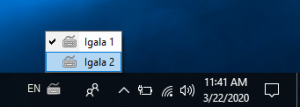
- By clicking that icon, you can switch between key-layouts. The Igala keyboard layout is listed under English (Canada) . After selecting English (Canada) click on the keyboard icon on the taskbar to reveal the different Igala keyboard layouts.